

During our busy rally season we started the build of a new gravel rally car for a customer.
The brief was short and clear. Build a rear wheel drive rally car that could be used for gravel and tarmac.
With a relatively short list of cost effective rear wheel drive cars available the decision to build a Nissan Silvia was made easier.
This is our second S13 build, with the first being a 180SX which is part of our team and regularly competing. Straight up we explained that some of the learnings from rallying the 180SX would be transferred into the new build. Components such as brakes, suspension and some drive line parts would become standard fit items to eliminate known issues once the car was driven in anger.
It took literally a matter of hours before we located what looked like the perfect donor. A straight S13 Silvia rolling shell with full weld in cage fit the bill and was purchased for a good price. The car had been intended to be used for tarmac rally and with some drifting in its prior history, the deal included some parts we could transfer over to rally. Soon the rolling shell was in the workshop and the build could begin.
 With a great deal of the dirty and hard work done on shell preparation, our job was made much easier. All of the sound deadening had been removed including the tar stuck to the floor. Straight away we cleaned up seams in the front and rear of the car and began the task of seam welding. Seam welding is a process of stitch welding the seams to add extra strength to the factory spot welding of structural parts of cars. Silvia’s like many cars have known weak points that crack or split under the stress of motorsport and the seam welding easily fixes this.
Whilst the CAMS approved cage design was well built, the front of the cage did not initially extend beyond the front firewall. We added extra bars to tie the cage in to the front strut towers and fully tie the cage and  shell together. Again like many other cars, the Silvia is prone to “kinking” around the base of the windscreen. A tower to tower cage prevents the car flexing and therefore ensures a much longer shell life, even from heavy shunts.
Whilst adding the front bars, we also added plates on the front legs to tie them to the A pillars in the car. For weld in cages, this is now a mandatory CAMS requirement to add strength to the roof and pillars in a frontal or roof impact.
The shell prep was straight forward and we could move onto the mechanicals. The car was originally fitted with a CA18 engine, however with the SR20 engine allowed and more readily available, a front cut was purchased, harbouring many of the parts missing from the rolling shell.
The front cut was completely stripped down to the nuts, bolts and screws. Duplicate parts would become spares and the main parts soon found their way into the car.
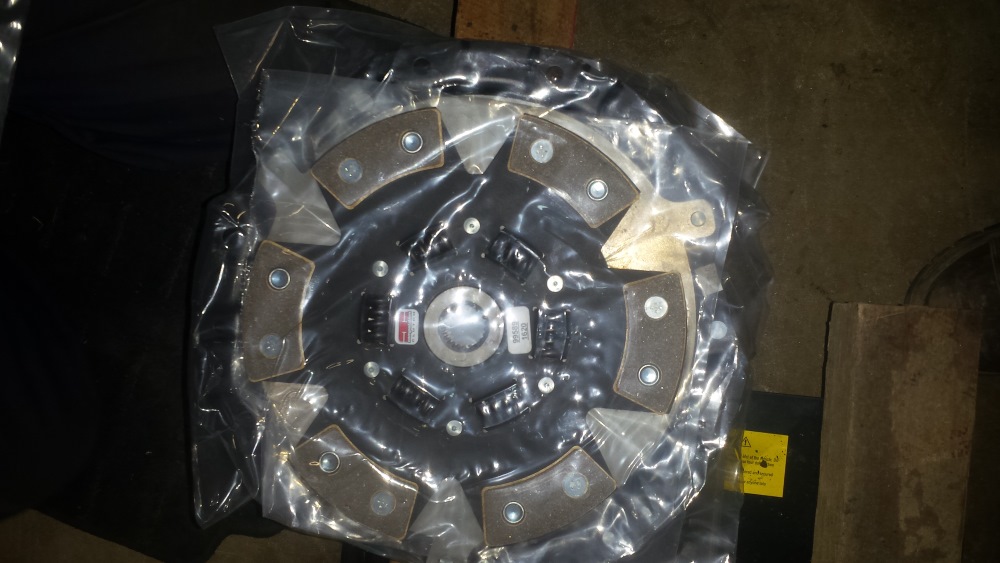 With the engine and box out, the pair were split and a new brass button clutch was fitted. We always highly recommend fitting a new clutch to a freshly built rally car as it is an item that when unknown can easily put someone out of an event. Demonstrating our theory the clutch in the front cut was effectively worn out and would not have got through a rally.
Moving to the top of the engine, the cam cover was then pulled and a set of rocker stoppers were fitted. The turbo was also removed and drilled so the CAMS scrutineers could lock wire and seal it as per the regulations. Whilst at it, we drilled and lock wired the turbo – manifold retaining nuts to reduce the chance of the turbo coming loose (a common problem). During re-assembly new urethane engine and transmission mounts were fitted as well.
If you’d like to start your own sideways adventure, why not start with a Rally Driving Experience?


