

As we started to put the car together we tackled a few tasks simultaneously.
A new fuel tank, Warlbro fuel pump and filter were fitted and plumbed in. We received the car with the original tank removed and inspection inside revealed plenty of rust from exposure to the elements. A HDPE fuel tank guard was also cut and fitted to provide protection from the exposed position under the rear boot floor.
The wiring needed to be completed too. With the front cut loom now in the car, it had to be spliced onto the rear loom. This task took some time to; identify each wire, connect and test to make sure lights and fuel circuits were working correctly. Also a small panel was fabricated in the centre of the dash to mount switches. As per the rules, the factory ventilation/heater controls were retained (looks like the car stereo). With the climate control and A/C removed, a separate switch drives the demister fan.
Boot springs fitted
As the rules also dictate that the factory intercooler must be retained, a guard was made up to protect it in its exposed position under the fender, just ahead of the left front wheel. All bolted in, the engine bay plumbing was then completed and a new pod air filter fitted with a custom bracket to support the intake pipe.
A very quick fire up saw the engine run perfectly on the first turn of the key. We could now focus on the exterior.
Having been drifted in the past, someone had taken to the rear guards with an angle grinder and hammer to increase clearance for larger tyres. The poor job had been hidden by some fibreglass rear quarter extensions that had been riveted in place. This mod coupled with a full vinyl wrap probably looked OK on the track even if clouds of smoke and rubber filled the cabin from the unsealed inner arches. The vinyl wrap however had been ripped off the car and with it went most of the underlying paint leaving patches. It wasn’t too much of a problem as we had work to do anyway. First up a hole was cut in the roof and an aluminium roof vent was fitted and sealed in place. The poor rear arch work and rivet holes were all welded up to seal the inner and outer guards too.
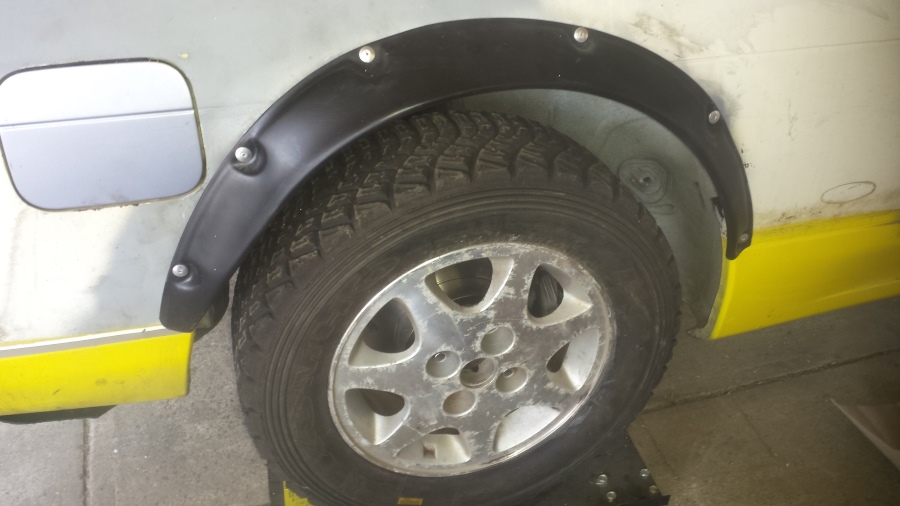
Wheel arch flares fitted ready for paint
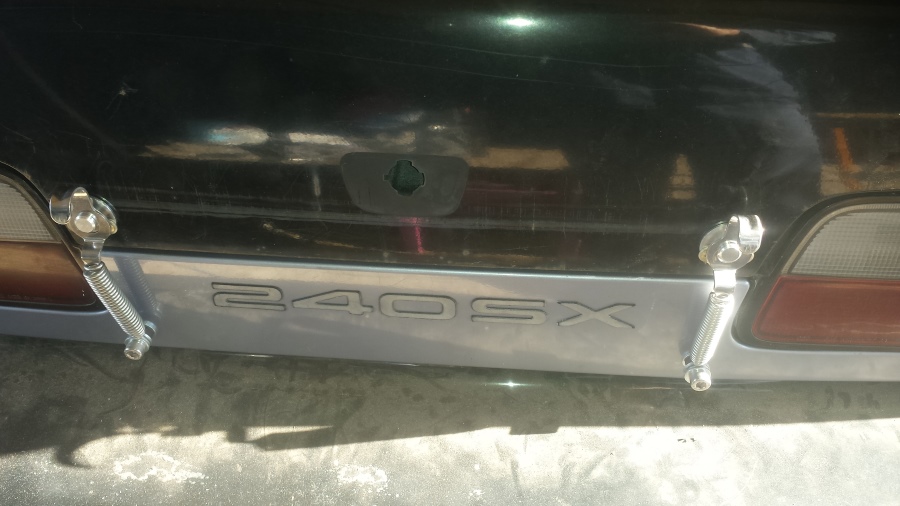
The boot lid was swapped for one with a factory spoiler and new tie down springs were fitted to hold it closed. The bonnet too received attention in the form of new set of rally bonnet pins, another of our standard spec items.
We did have some concern in regards to the rear arches. We now had them sealed up, however the gaping spaces above the wheels looked unsightly and it was difficult to judge if too much metal had been removed. With the rules allowing the fitment of wheel arch flares, a full set specific to the S13 were sourced from the eastern states. With some sealant in the right places and some large rivets, the fitment was actually quite good and they made a neat job.
Before we got to work smoothing the paint, a sump guard was fabricated from 4mm aluminium plate along with matching steel mounting brackets. The guard was bolted into place, ready to take the knocks of high speed running on gravel roads.
The paint work prep proved quite a task. We’d been asked to “tidy the car up” without going to the effort of a bare metal re-spray. The car was blocked back and edges of the patchy paintwork feathered smooth to provide a good key for the new paint to stick to.
When the choice of colour came up, “bright white” was the answer. Just over 3 litres of base tint (the brightest white you can get) acrylic was sprayed before the lights, wipers and ancillary items were fitted. Outwardly what had been a shell a few weeks ago was now looking more like a car.

DMS rear suspension
With the paint buffed and polished, it was shiny if not a little plain looking. During the off season the car will see coloured vinyl applied by our sign writer Richard, the design is yet to be finalised by the owner.
The last major item to tackle was the suspension. For those of you that may have followed various build threads, you know we use a variety of brands depending on the owner and the budget. For this car Drummond Motorsport (DMS) 50mm adjustable gravel suspension was fitted. We fitted camber adjustable strut tops on the front set and fixed position tops at the rear before bolting the units into the car. With some 15” rally tyres rolled onto a set of standard S13 4 stud alloy wheels, the car was lowered to the ground to have the ride heights set and an initial wheel alignment completed.


